Visiting
ANT yesterday, I got to see something very cool: The making of a headbadge from start to finish. The ANT
headbadge looks like a piece of antique jewelry - resembling an oxidised copper brooch. I've been wondering how Mike Flanigan makes them, and now I know:
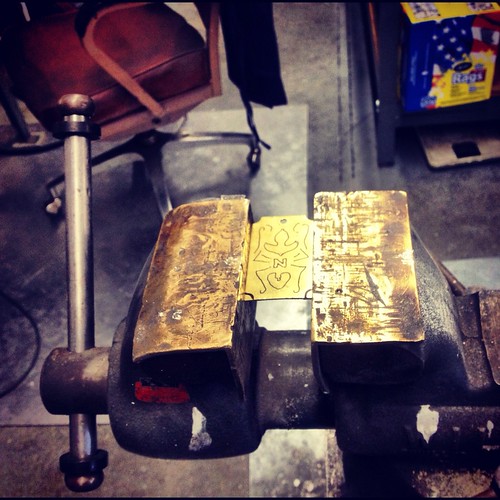
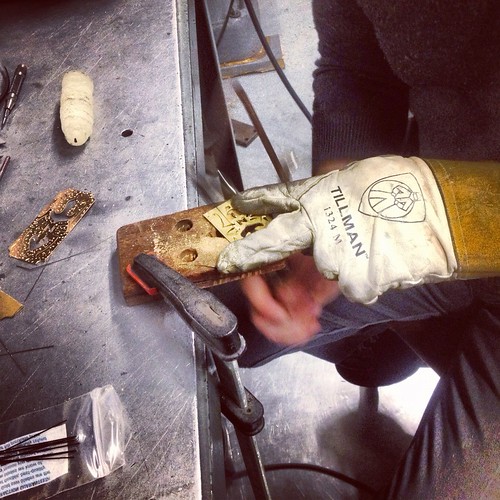
Turns out the headbadges are brass, not copper. While initially Mike made them by hand, for years now he has been getting them laser-cut in batches. But on this occasion he needed a headbadge for a bike with a short headtube, so he made a smaller one from scratch, starting with a blank plaque.
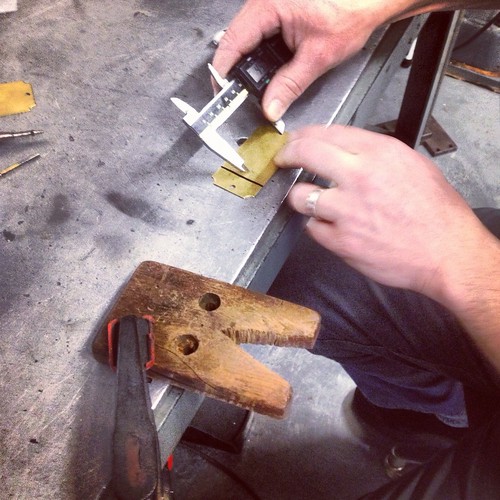
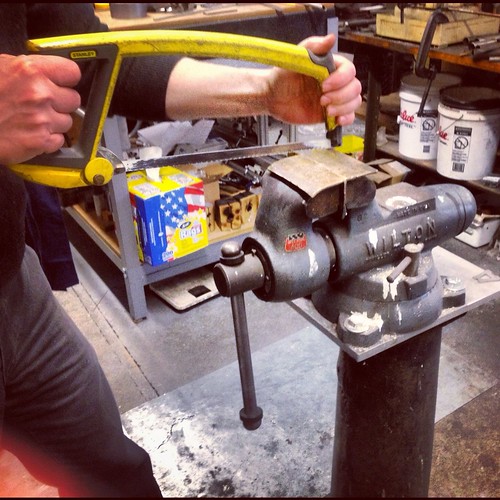
The headtube was not only small, but had decorative lugwork around the edges, limiting the space for the badge quite a bit. To start with, Mike measured the available space and cut down one of the blanks to size with a saw.
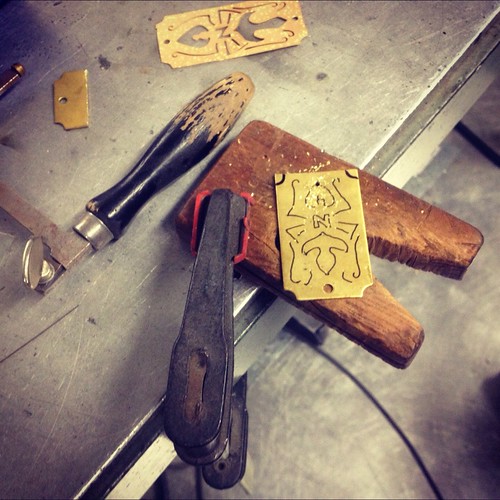
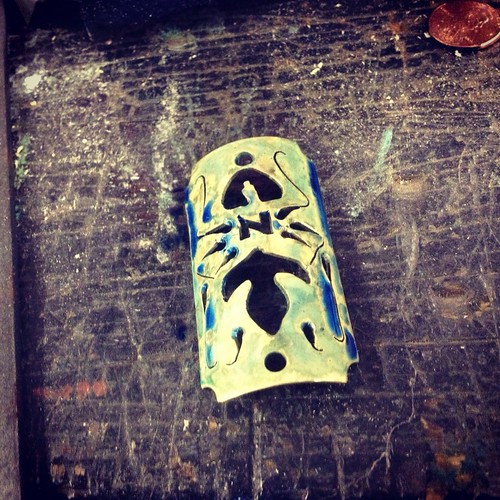
Using one of the laser-cut badges as a model, he then drew the design on the smaller blank freehand in black marker. Because of the difference in scale, the ant on the smaller badge came out slightly differently - chubbier and shorter, with a rounded head. We decided it was a juvenile ant.
Not sure whether this is obvious, but the rendering of the insect actually spells "ANT" - the head being the "A," the torso the "N" and the bottom the "T." It's a clever logo.
Using a variety of files and an awl, Mike carved out the ant and "distressed" the plaque.
The remaining traces of marker were then removed and the surface smoothed down.
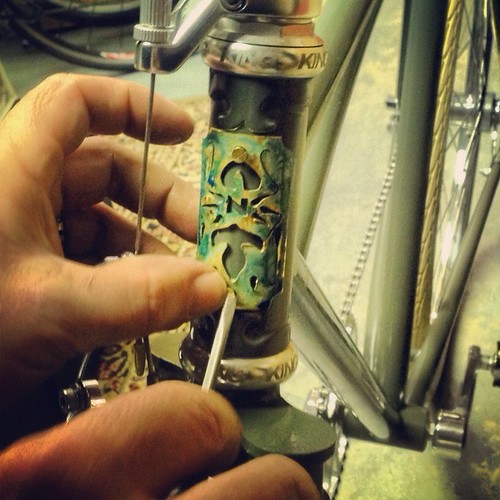
Once the headbadge was ready, the patina was applied. This is the stuff that gives the headbadge the look of oxidised copper.
This is a liquid patina goes on blue, but turns rusty-green as it air-dries. The process can be speeded up by putting the patina-covered headbadge in a plastic bag for a few minutes.
As the "oxidation" completed, Mike attached the badge to the headtube and it was done. The process took about 30 minutes total and was pretty exciting to watch. I don't think that many headbadges are carved out freehand anymore, and doing it this way gives them a distinctly hand-made look. A big thank you to Mike for letting me observe and share the process!


0 comments:
Post a Comment