

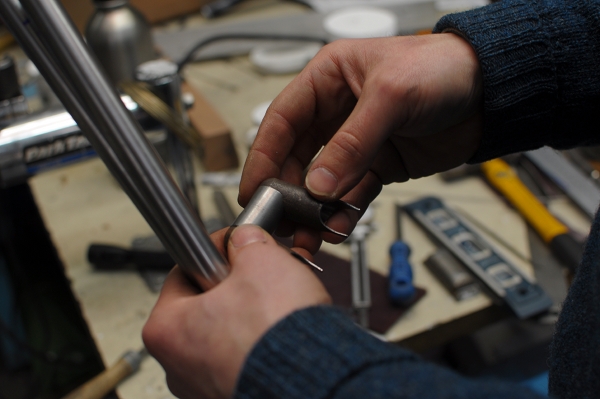
The seat stays are prepared.
And attached, with more flux added.

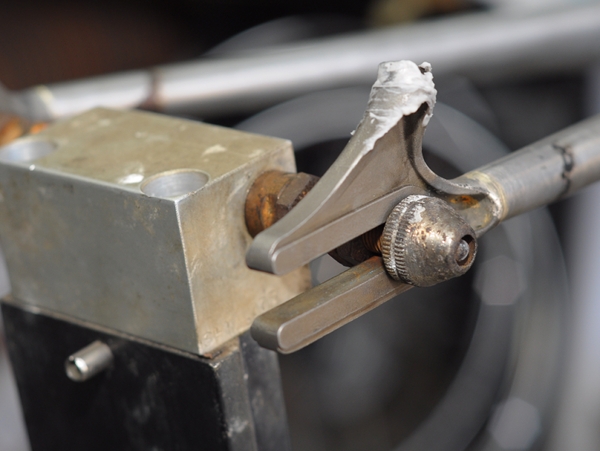
The same is done with the seat cluster.
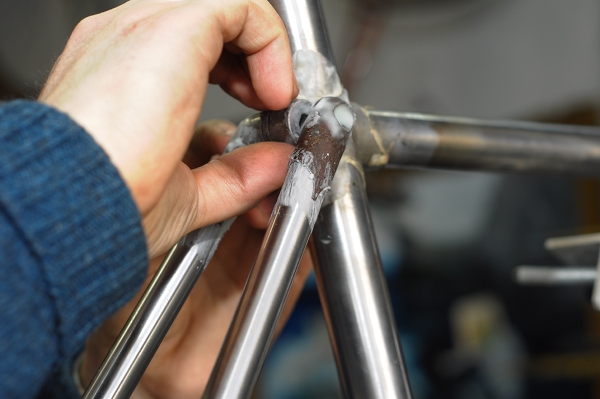
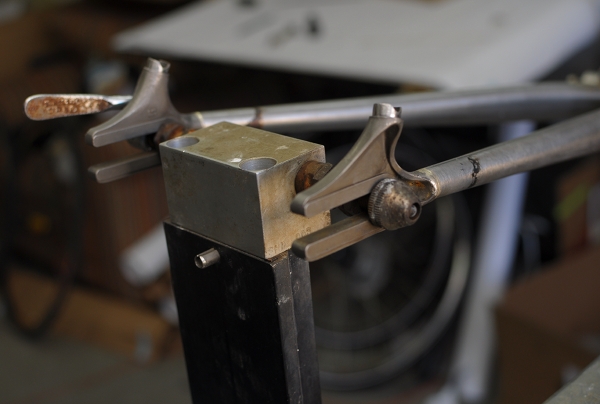
Here is Bryan carefully arranging everything so that it stays in place.
It is crucial that everything is aligned perfectly.
Really perfectly.
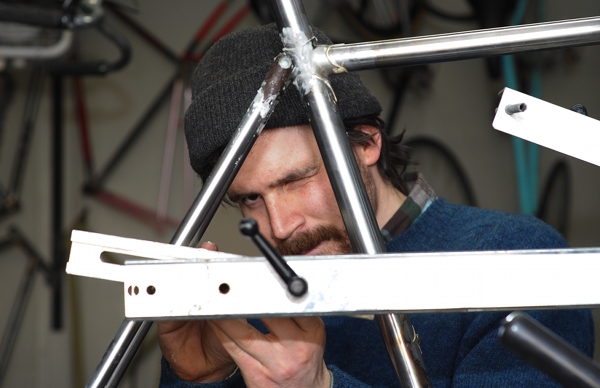
More perfectly still.
And there we go.
With more flux added for good measure.
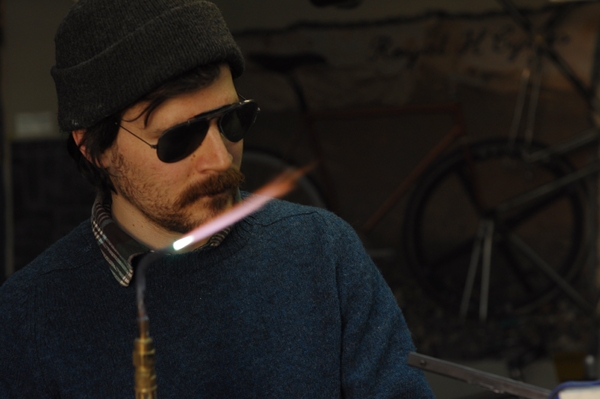
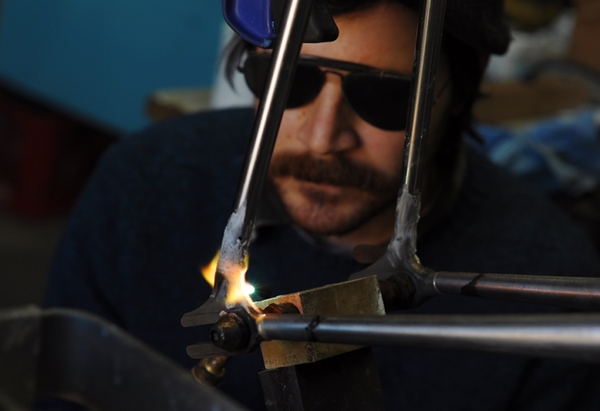
But now, the good part. Fire!
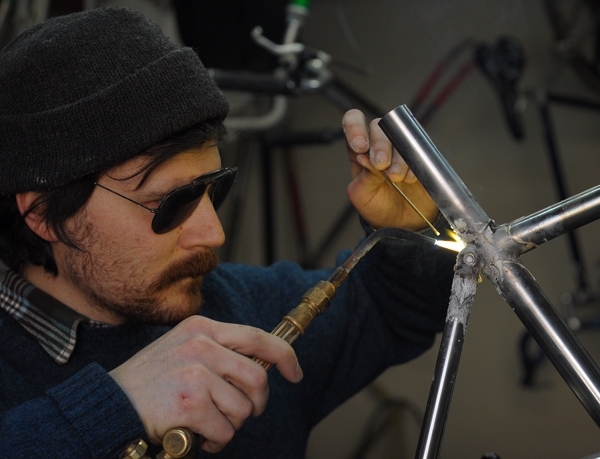
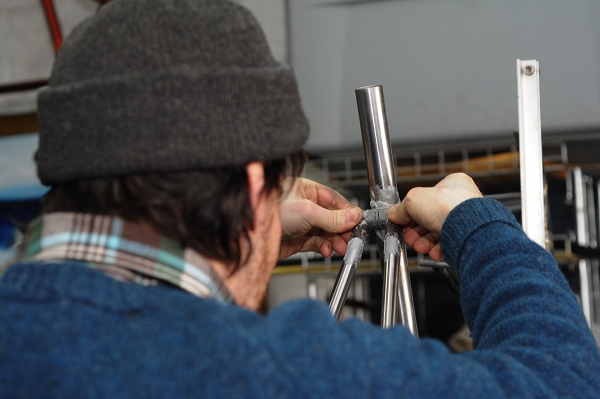
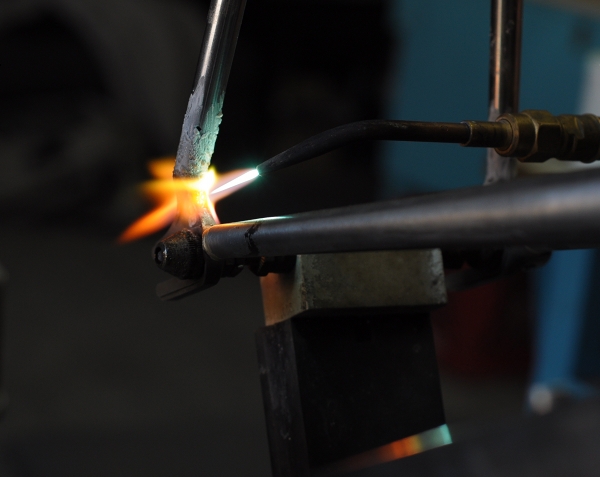
The joint is heated with a hand-held torch, then brazed together using silver or brass (silver is shown here).
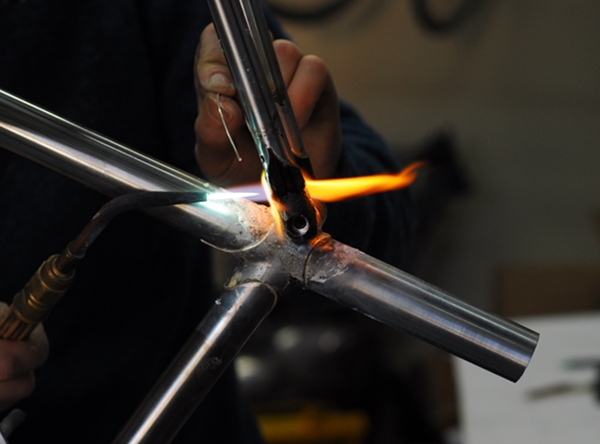
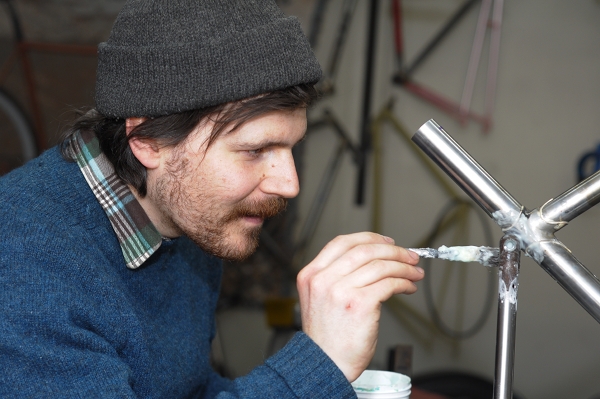
Close-up of the process.
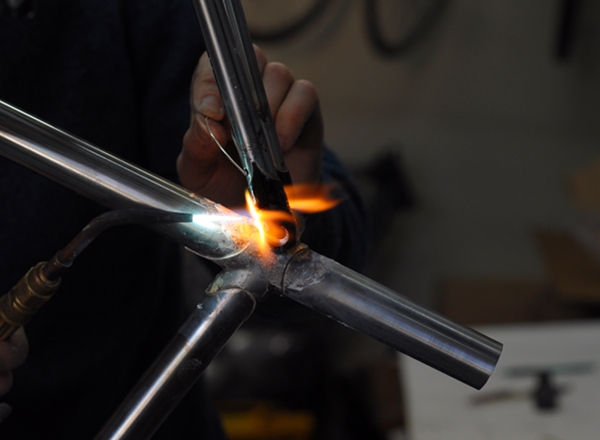
That little wire you see is the silver; it is melted into the joint by the torch.
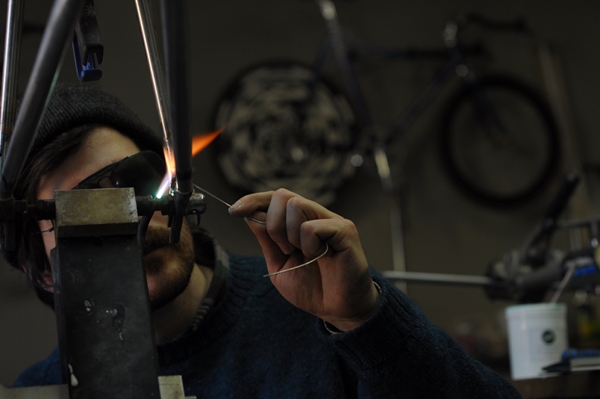
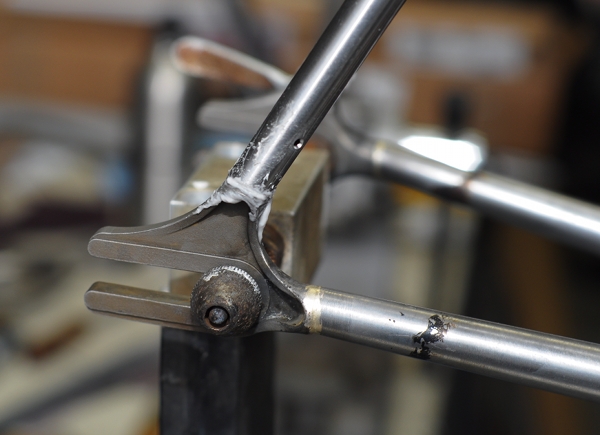
Same procedure for the dropouts.
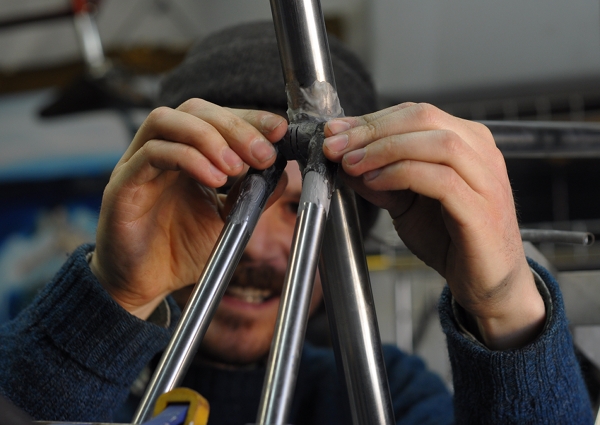
The process is quite beautiful - though best observed through a camera lens that allows you to stand back while enjoying a close-up view.
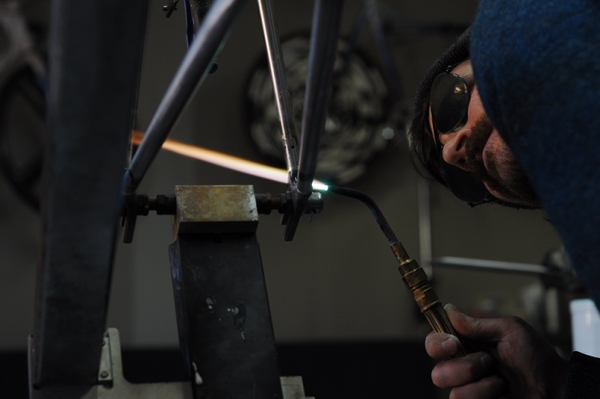
I lose track of time when absorbed in something like this, but the brazing did not take long. The key is precision - having steady hands and a good eye, so as to align all the parts perfectly, heat the joint evenly and distribute the silver properly.

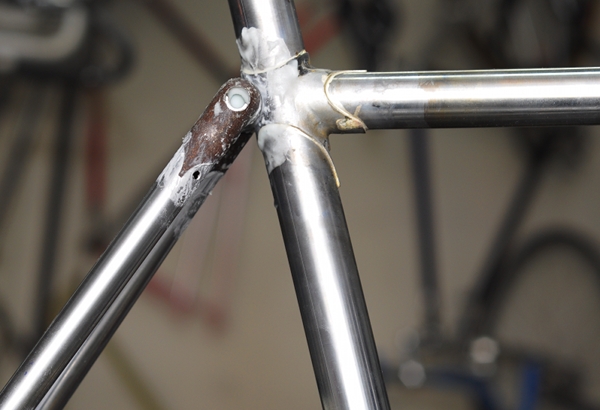
The dropouts post brazing. There is still a lot to do here, such as cleaning and finishing work, but this is the joint. This bicycle will have an internally geared hub, so these are technically "fork ends" rather than dropouts - but nice either way.
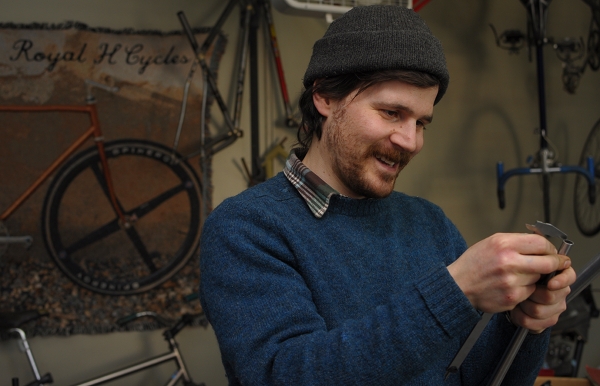
I hope this gives you some idea of how lugged steel frames are built, and a Thank You to Bryan for allowing me to photograph him working. If you want to learn more about the hand brazing process, a good place to start is here, as well as this nice video from MAP Cycles. There is also a Framebuilders subforum on bikeforums that is quite helpful. While I have no plans to build frames myself, I enjoy learning how it is done and seeing the process up close.


0 comments:
Post a Comment