On Sunday, we had a truly beautiful winter day. Because the blizzard hit Boston on a weekend, the snowplows were not as active as they would have been during the working week. For the first half of Sunday, the entire neighborhood lay covered in a blanket of pristine white snow, and only around lunchtime did people begin emerging from their houses to reluctantly shovel their driveways.
Despite being down with a minor cold, Velouria could not sit still in the blizzard. Stir-crazy in our small apartment and desperate to feel the fresh snow under her tires, she begged me to come out just for a bit, at least to give it a try. How could I resist her charms?

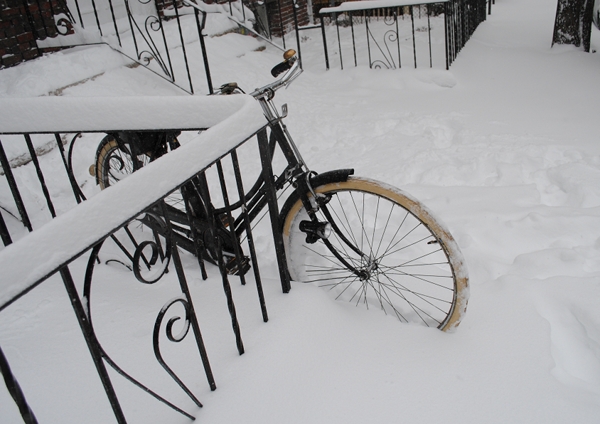
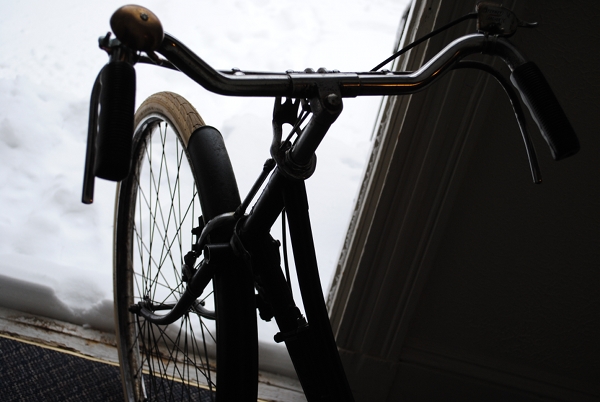
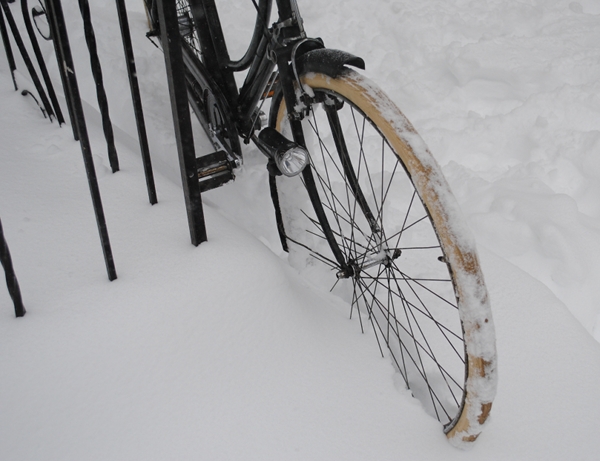
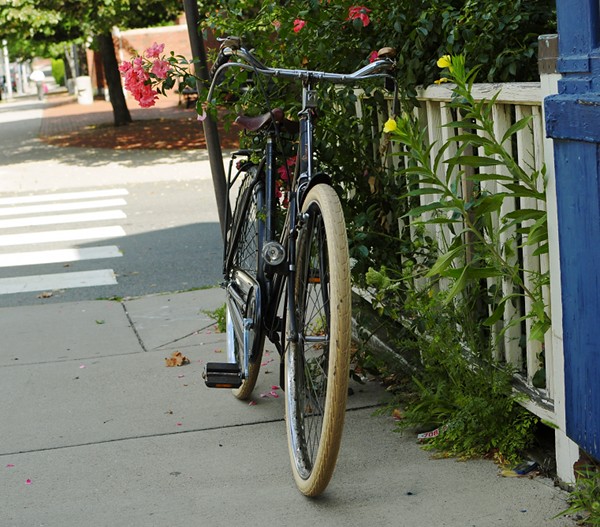
She posed for me next to the fence while I photographed her this way and that. A kickstand was not necessary, because the foot-deep snow enveloped her wheels and functioned as a bicycle rack. With her black frame and cream tires, Velouria was stunning in the snow. The aesthetic experience of seeing her thus even made up for carrying her down the front stairs - which had been semi-visible when the Co-Habitant left for work several hours earlier, but were now completely buried in snow. With the bike in my arms, I slowly extended my toe and felt each step under the snow before proceeding onto it. With the 40lb DL-1 this was doable, but I would not have been able to execute the same maneuver with the heavier Pashley.
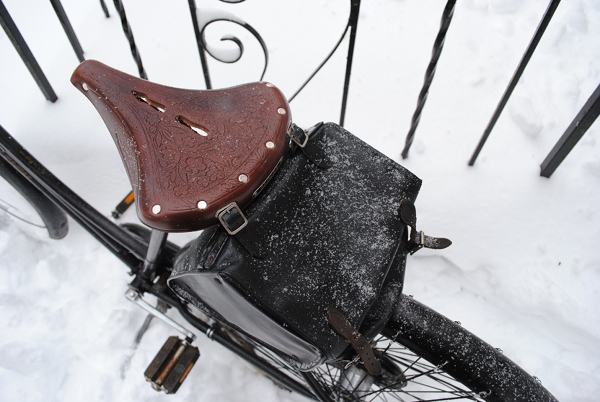
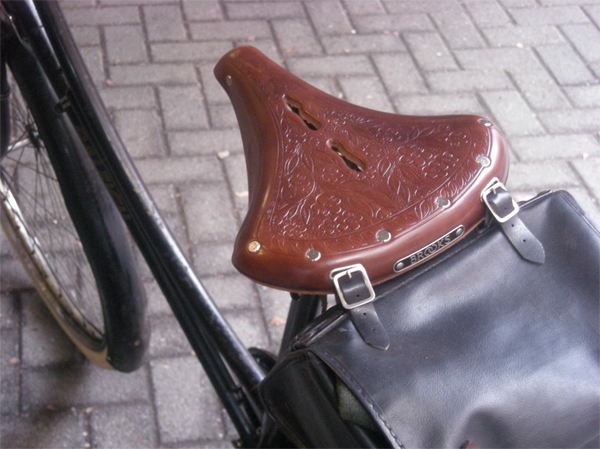
The snow was still falling as we prepared to head out, quickly covering the saddle with a thin layer of powder.
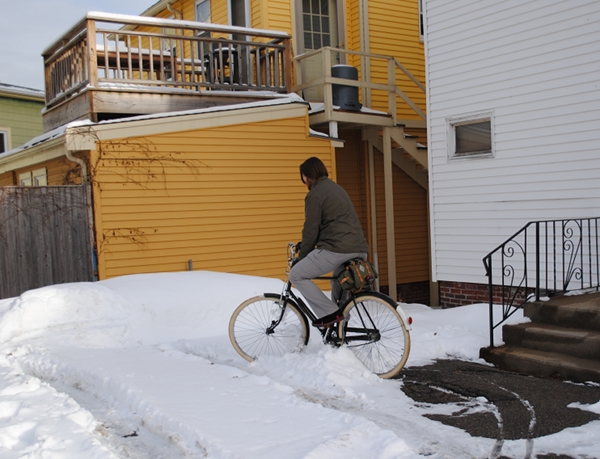
Upon Velouria's advice, the voyage I chose was an easy and safe one: a trip to a grocery store that is just a 6 minute walk (3 minute ride under normal conditions) from our house via a secret route through dead-end back streets. There would hardly be any cars there, and if I found myself unable to ride I could just walk the bicycle the rest of the way to the store and back.
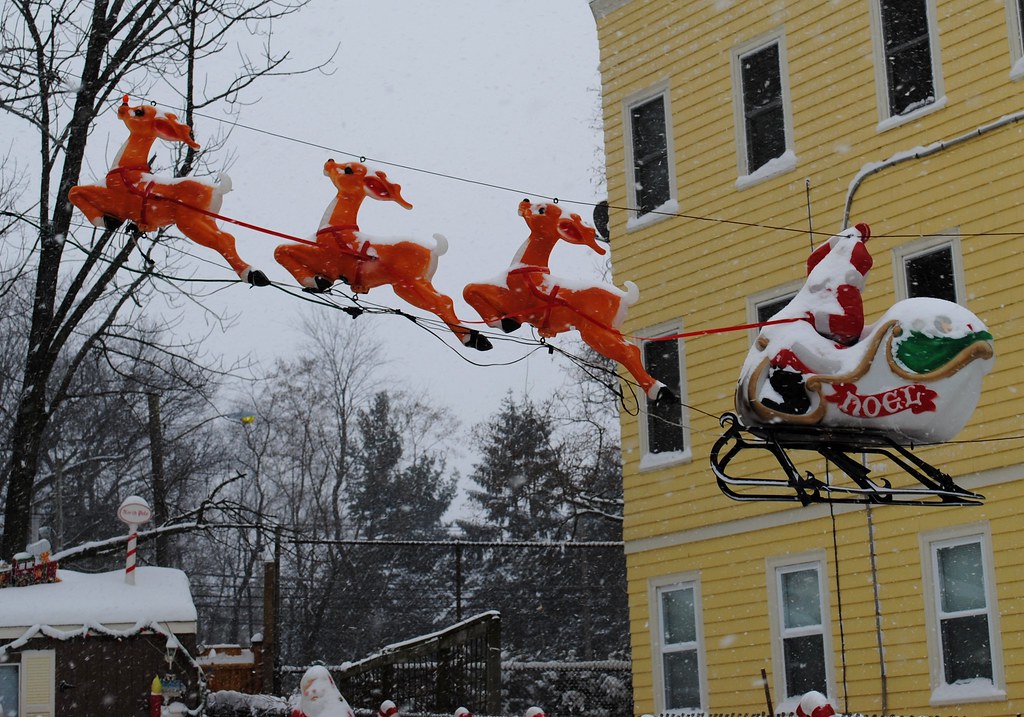
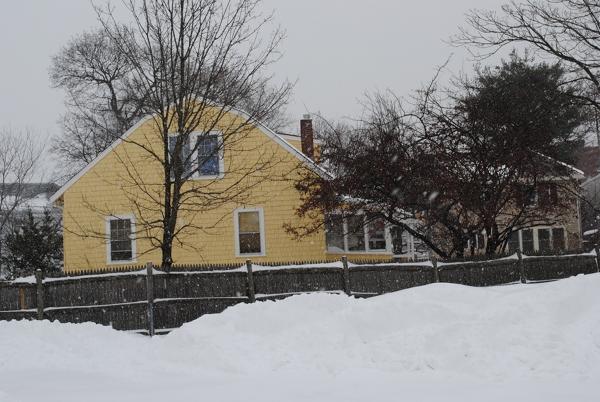
I took my camera along and had grandiose plans to stop every so often and photograph Velouria against the backdrop of various winter scenes. However, the visibility was so poor and the snow so... snowy, that getting off the bicycle to pose it became the farthest thing from my mind once we were underway. Instead I offer you views of a few landmarks.

"No Outlet" - Hah! Perhaps not for cars, but for a bicycle the gaps between fences will do just fine.
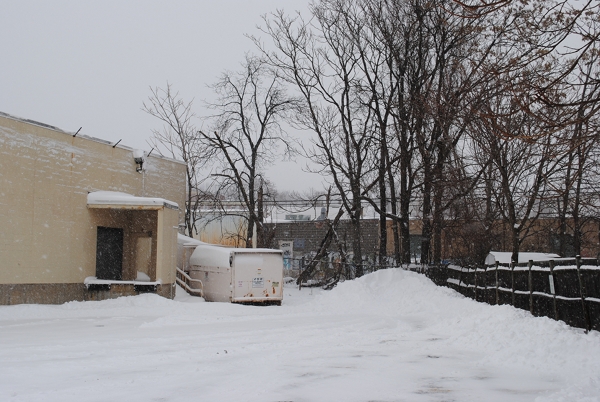
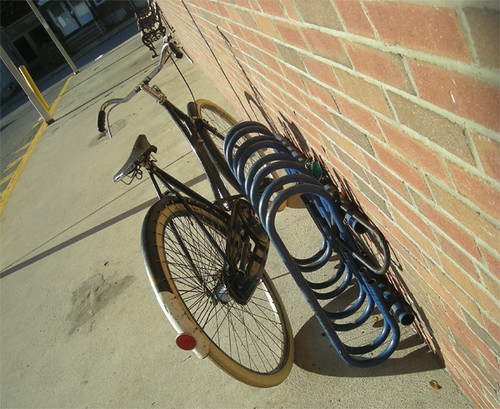
Arriving to the grocery store via the back parking lot.
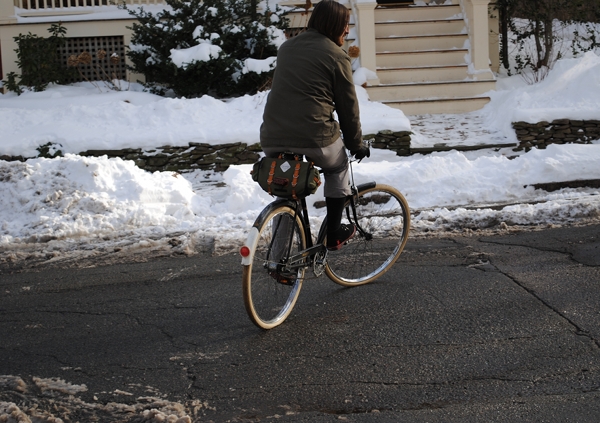
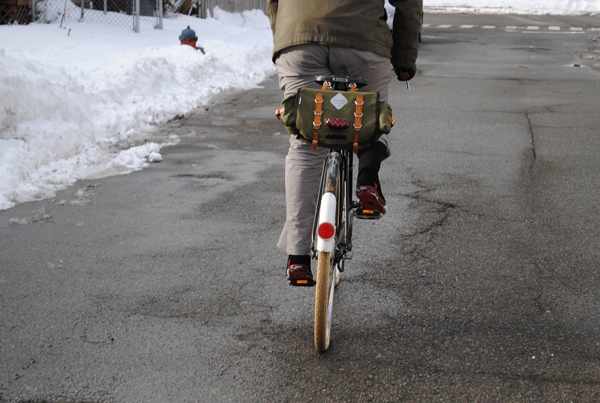
At this point I will give you my ride report: Basically, my biggest problem was visibility, or rather, the lack thereof. These pictures do not really capture how difficult it was to see in front of me as I was cycling, but the falling snow obscured my vision completely. In these back alleys that was okay, but I cannot imagine cycling on real city roads in these conditions. As for the bicycle's behaviour... It was fine. Granted, I was so paranoid about falling, that I cycled very slowly and made ridiculously wide turns. Riding through the snow in this manner felt similar to
cycling on the sandy fire trails on Cape Cod, only slower.
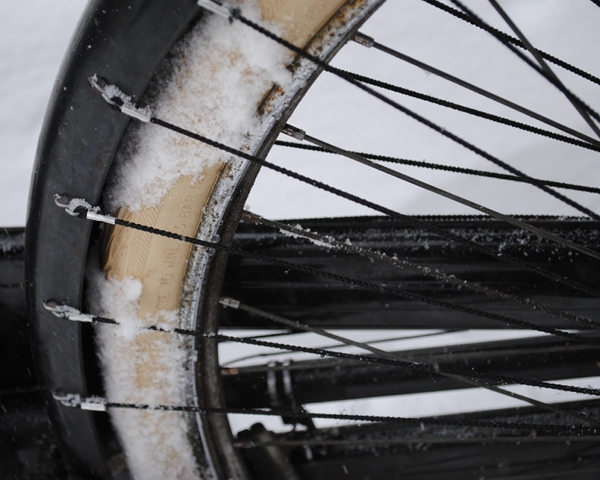
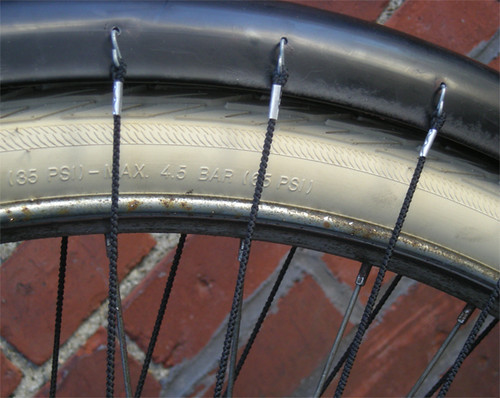
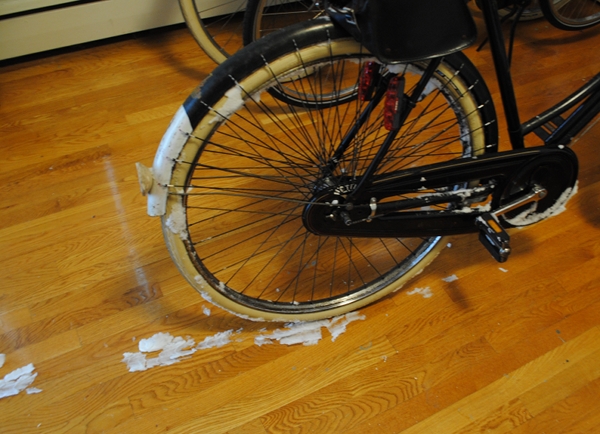
I did not experience a sense of slipping on the snow while going straight or while making turns, but again, I was intentionally cycling very slowly. The tires on my DL-1 are the Schwalbe Delta Cruisers, 28" x 1 1/2". By the time I returned home from the grocery store (having purchased a bag of raw cranberries and some chocolate), the snow had made its way into every single crevice of the wheels, covering the spaces between the spokes and dress-guard cords.
If you click to enlarge the picture above, you can see that the snow also made its way into the gaps around the brakes. This is a problem not just for bicycles with rod brakes, but for
any bicycle with rim brakes. The snow lodges itself in between the rim of the wheel and the brake pad immediately, increasing stopping time considerably. Because I was cycling so slowly, this did not really matter; at that speed I could stop the bicycle by merely putting a foot down. But if you plan to cycle with anything resembling normal speed, I think drum or disk brakes are the only solutions that will provide adequate stopping power.
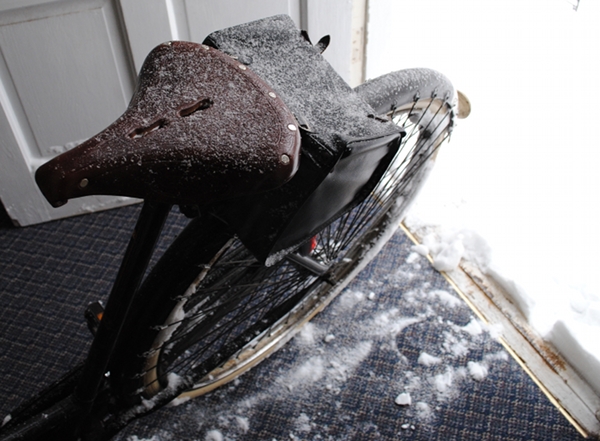
This short but beautiful winter adventure was more than enough for me and Velouria. We were happy to return to the warmth of our home - both of us trailing lots of snow. That snow on the saddle accumulated during the time it took me to drag the bicycle up the front stairs. If you don't want snow on your leather saddle, consider swapping it out for a vinyl one for the winter. For me, a little precipitation on the leather is okay though.
I did experience a panicked sense of remorse when I saw the extent of snow accumulation on the bicycle once we got home, and the next 30 minutes after this photo was taken were spent with a rag, frantically wiping off the moisture. I have been assured however, that the snow in itself is not bad for the bicycle; it is only the salt that is damaging. Thankfully, the roads had not been salted yet at the time of our ride. Velouria enjoyed the refreshing tour through our local Winter Wonderland. She is up for doing it all again - as long as I promise to go slowly, keeping her rod brakes in mind.
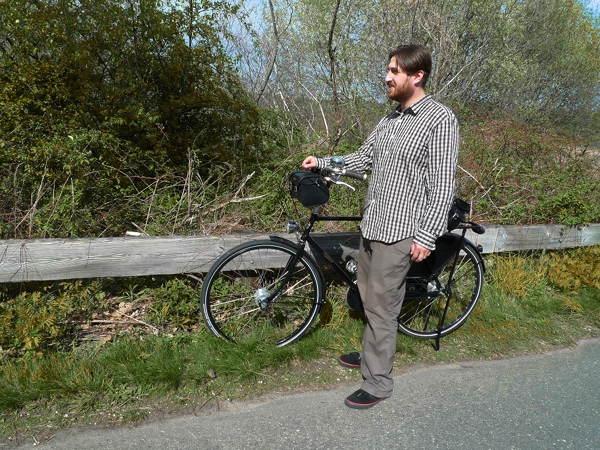
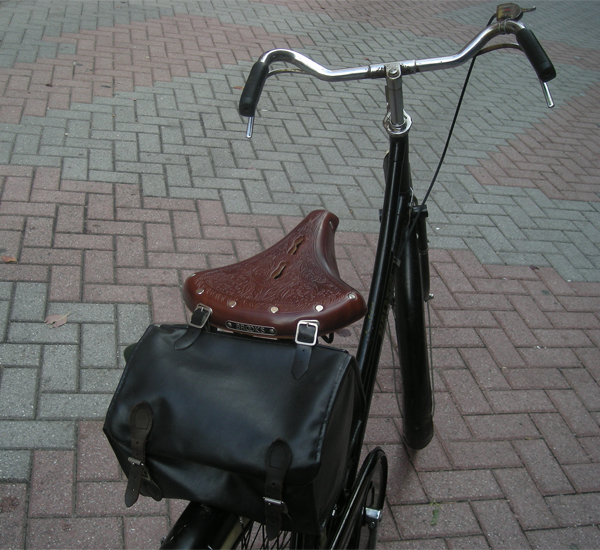
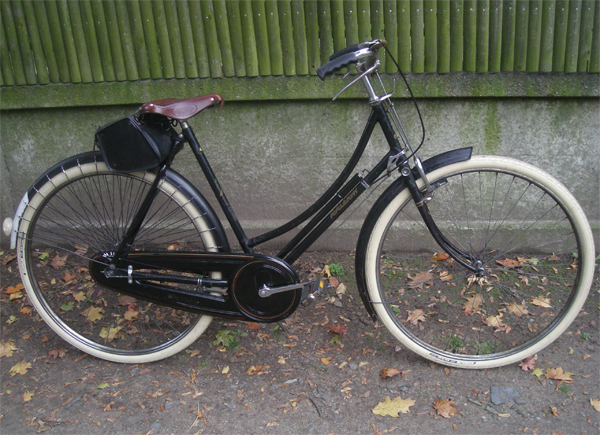
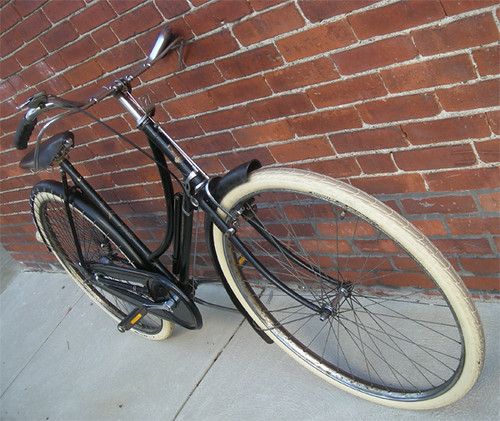
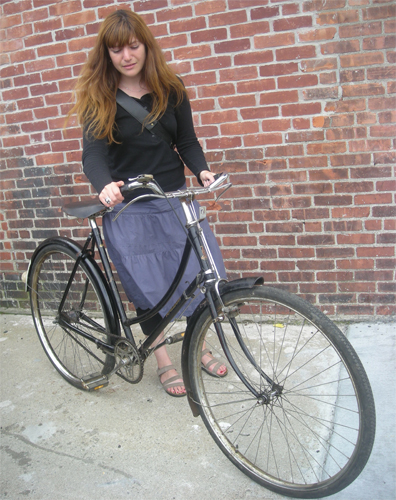
 Behold my beloved Raleigh DL-1 Lady Tourist! Lovely as usual, is she not?
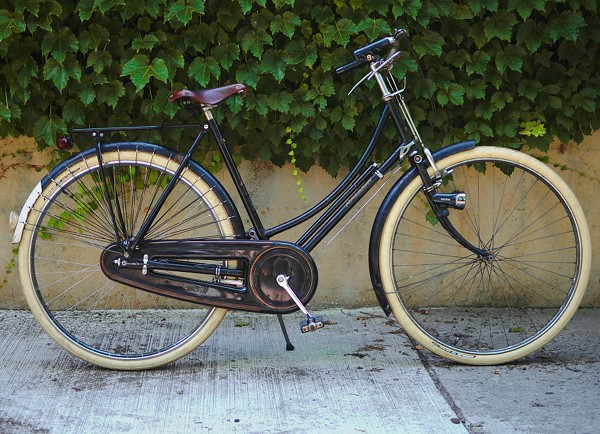 Ah, but some things about her are not at all "as usual". Can you tell that the lady has had major surgery? Probably not, and that's the beauty of it; her classic roadster features have been left intact.
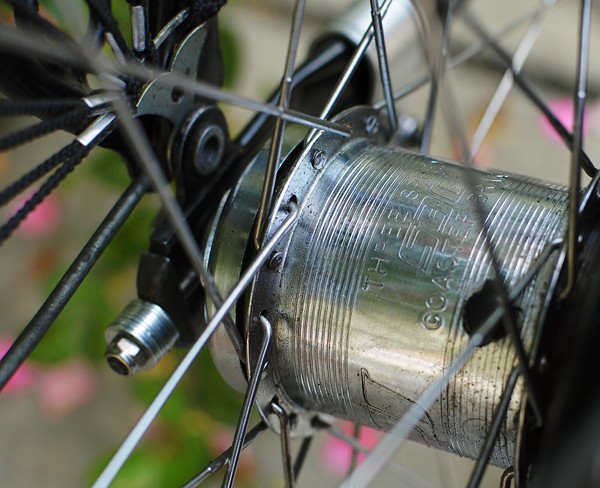 But oh, what's this here? Why yes, it's a Sturmey-Archer S3C coaster brake hub! And with it, the bicycle has been magically transformed to an unmatched state of fabulousity.
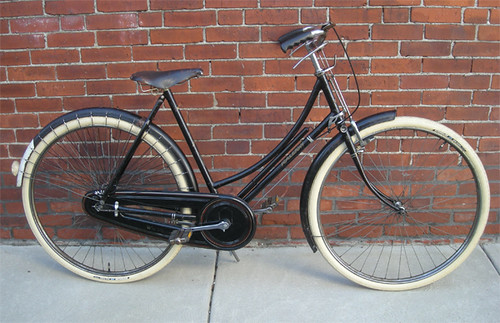
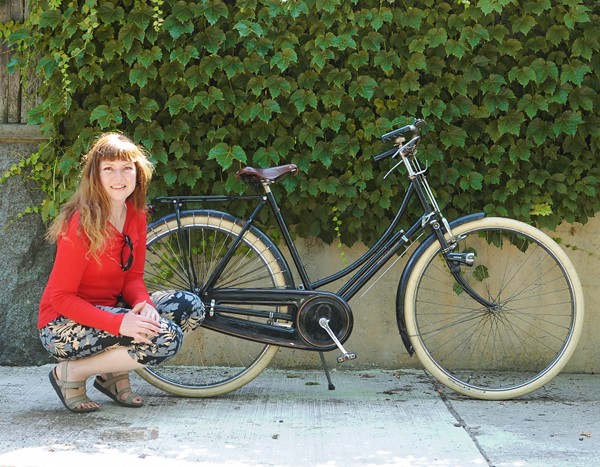 For those unfamiliar with the saga: The Raleigh DL-1 is basically the holy grail of vintage "Roadsters," particularly the lady's loop frame. These bicycles are elegant, comfortable and surprisingly fast. There is only one tragic drawback: They were made with rod brakes, which is a braking system that is not the greatest even in dry weather, and completely ineffective in the rain. I got my DL-1 last summer and it has been my preferred bicycle ever since, despite the poor braking power. Still, I hoped that someday a conversion to a more effective braking system would make it perfect. Imagine my elation that this day has come!
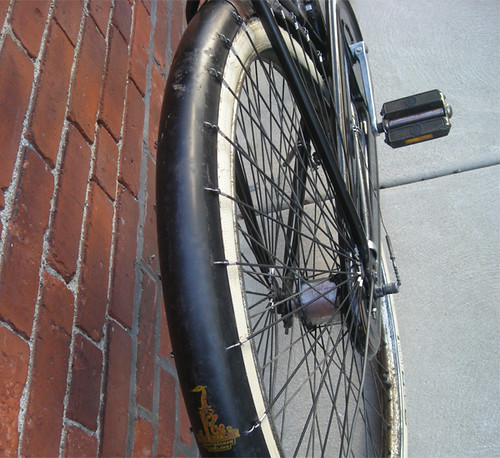
 If you are wondering how we did this, I will first say that it is definitely a "don't try this at home" project unless you are mechanically inclined, or have a spouse who is. But to summarise: You will need to get a 3-speed coaster brake hub and to have a new wheel built around it. You cannot put the coaster brake hub in the old wheel, because these hubs were designed for a different number of spokes. If you are planning to keep the original rod brakes (which you have to, unless you want to replace the handlebars), the new wheel needs to have a 28" rod-brake rim. These are distinct from regular rims, in that they have a special notch for the rod brake pads to grip. Yellow Jersey sells these rims, and they can also build you the wheel if you send them the coaster brake hub.
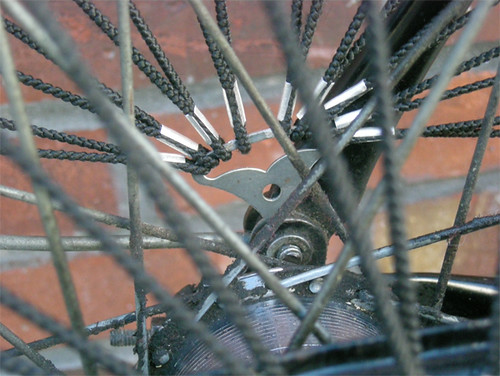
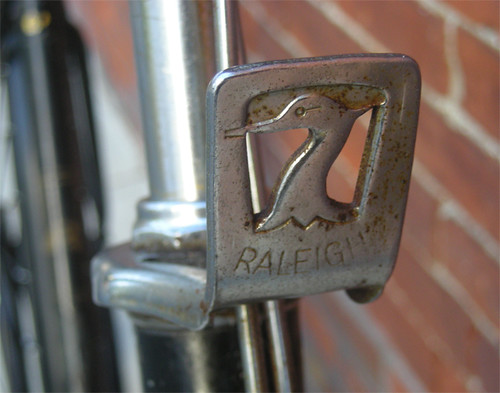
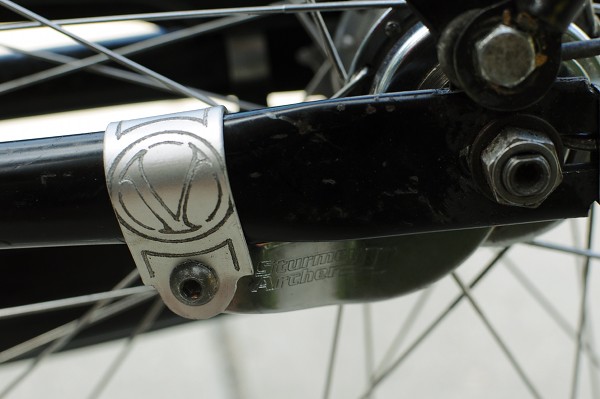 And that is what we did: I got the hub from an acquaintance who happened to have one (and who sent this monogrammed reaction arm clamp to go with it!), and had the wheel built by Yellow Jersey. Upon receiving the new wheel in the mail, we stayed up half the night attaching it to the bike. There are various little nuances that made it, shall we say, challenging - but it is doable. I will post a more detailed account on Boston Retro Wheelmen soon; for now I still have PTSD from the process. But let's be frank: A mild case of PTSD is a small sacrifice for the miracle of a secret coaster brake on a classic rod-brake roadster!
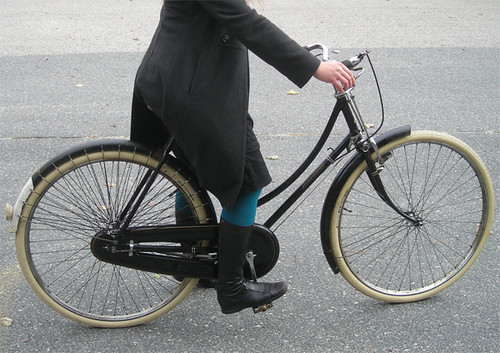
 After the coaster-brake wheel installation, I spent the following day riding the bike everywhere; it was difficult to get me off of it! I tried hills, high-traffic routes, bridges - all kinds of situation where the brakes would be put to the test. I even got stuck in the pouring rain on my way home from downtown Boston - which was not intentional, but perfectly timed for testing the brakes in wet weather. If you've been reading this blog, you know I like coaster brakes, and this one performs fantastically. Upon back-pedaling, it comes to a soft (non-jolting) but reliable stop, making hand braking completely unnecessary, other than for preventing the bicycle from rolling when stopped at a traffic light. One funny thing about this hub, is that it is very-very loud: a steady ticking noise when pedaling, amplified tenfold when coasting. Well, at least they can hear me approach!
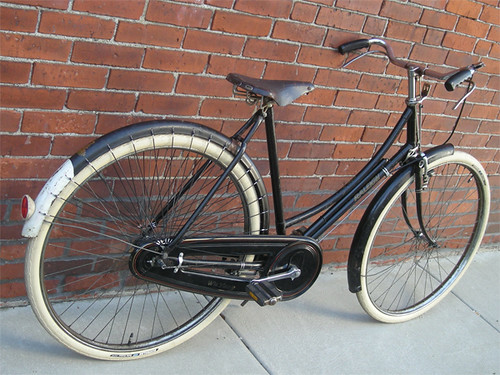
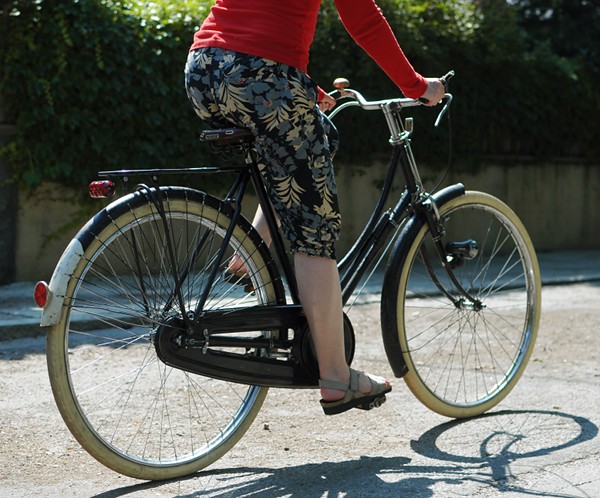 It did not take me long to get used to the DL-1 having a coaster brake and to adapt my braking patterns accordingly. With the rod brakes, I used to plan my stops in advance and I feared rain. Now I am free from worrying about such things and can fully enjoy this wonderful bicycle. There are other ways of installing effective brakes on the DL-1, like attaching the rods to a rollerbrake hub or replacing the whole rod system with standard brakes and conventional handlebars. But I chose the coaster brake, both because I like the system in itself, and because it allowed me to preserve everything about this bicycle exactly as it was - making it my very own Coaster Roadster.