 Lucy 3-Speed
 is a prototypical vintage Raleigh Lady's Sports, and I initially questioned the need to review her. But in the end I decided to go ahead and write the review, making it a sort of general commentary on buying a vintage 3-speed.

The benefits of Raleigh 3-speeds are that they are sturdy, comfortable, durable, easy to ride, have good front and rear loading capacity, and can be fairly easy and inexpensive to obtain. Some people, myself included, are also drawn to their aesthetics and history. The late Sheldon Brown wrote a great deal in praise of the English 3-Speed, and I invite you to read about it
here and
here.

From my own experience I especially stress the "easy to ride" aspect.
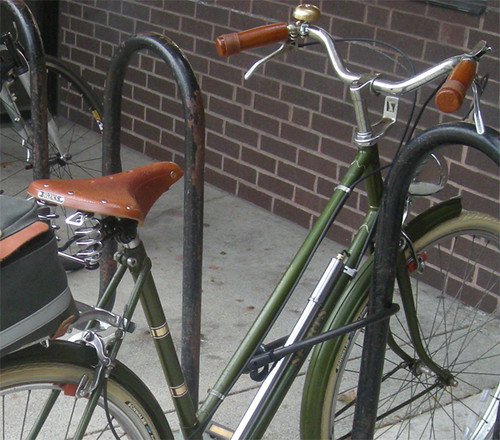
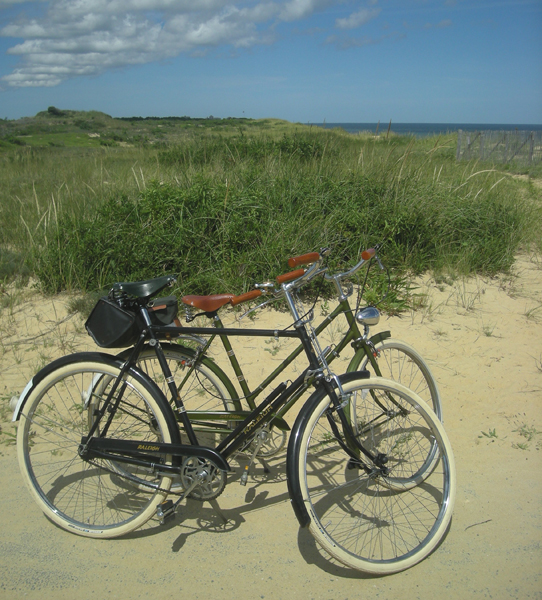
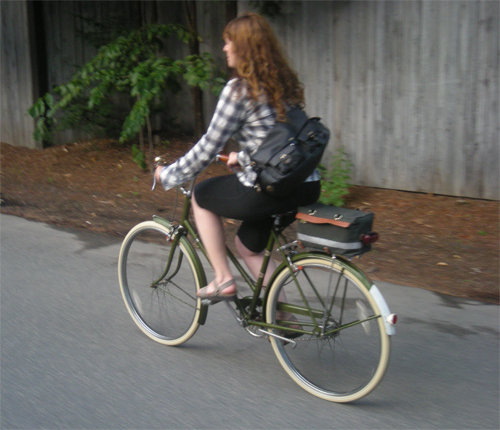
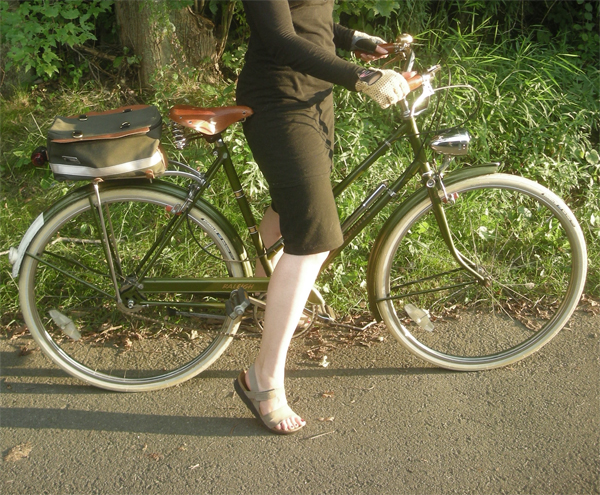
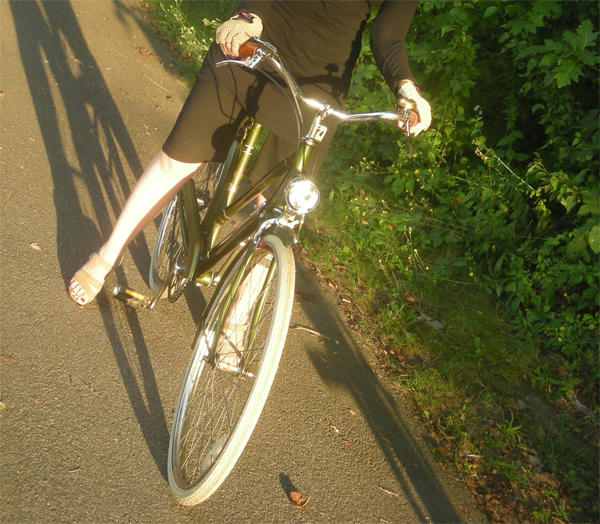
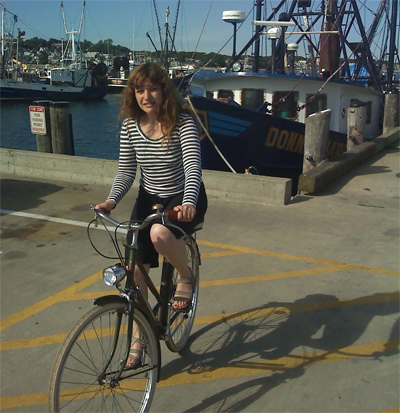
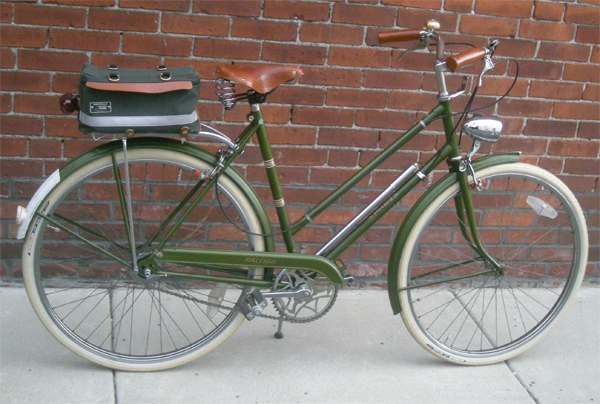
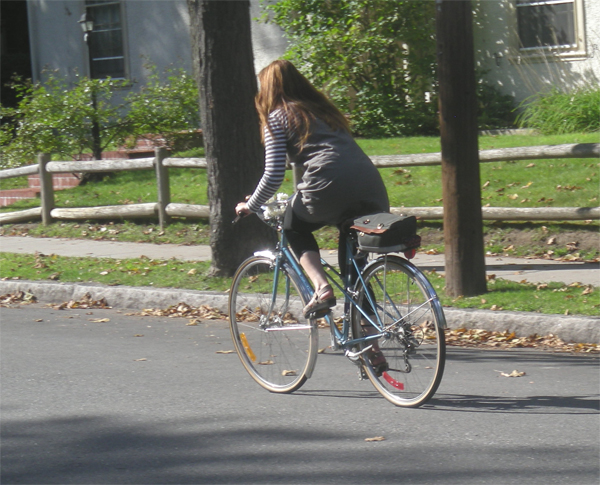
Lucy 3-Speed is very much a "hop on and go" kind of bicycle. It is comfortable, but lighter than the Pashley. It is sporty, but more stable than the Motobecane. I don't think about it too much, I just get on it and go - and it always feels great.

A blurry illustration of the "lighter than the Pashley" factor.

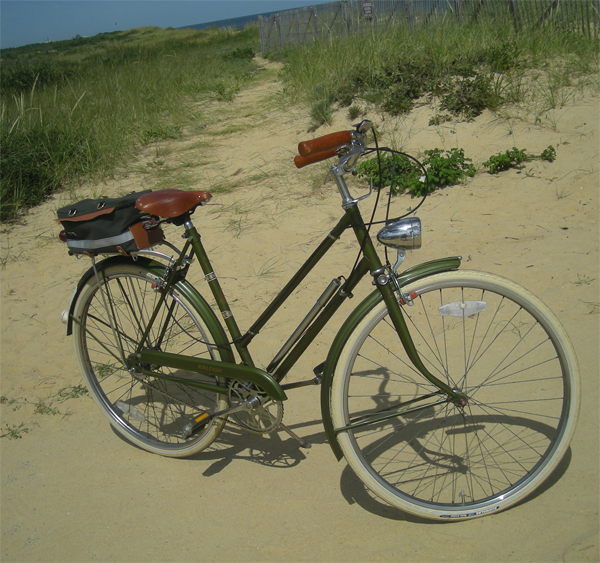
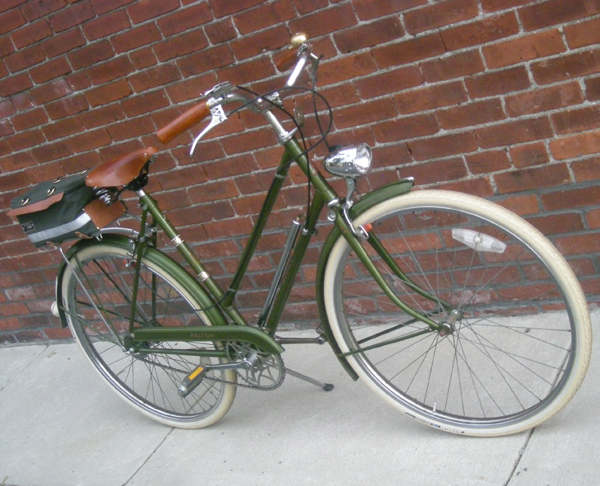
My Lady's Sports is a 1970 model. It was "re-claimed" by me from the depths of my parents' garage, and you can read all about that
here, as well as see
lots of photos in its "before" state. In the classic "Raleigh green" colour and 21" frame size, this bicycle had all the standard features of a Lady's Sports, including a lugged straight step-through frame, 3-speed Sturmey Archer AW hub, North Road handlebars, matching fenders and chainguard. Though it sat abandoned for decades, there was nothing really wrong with the bicycle, other than a stretched out chain, flat tires, and some rust around the handlebars. Still, I made some upgrades to it that I consider crucial when one is buying a vintage 3-speed:
 New Tires:
 As a rule, you should always get new tires after purchasing a vintage bike with original tires. It does not matter if the previous owner (or the bike shop you bought it from) assured you that the original tires are fine. Replace them anyway. The reason for this, is that vintage tires have a tendency to explode after their second decade of life, even if they appear "fine". You don't want this to happen while you are cycling in traffic. It is easy to find new tires for an English 3-Speed, because they come in standard 26" and 28" sizes. When you are buying new tires, spend a few extra dollars and get ones with kevlar protection to save yourself the trouble of getting flats. The nice cream tires on
Lucy 3-Speed are
Schwalbe Delta Cruisers, and I have written a detailed review of them
here.
New Brake Pads: Vintage 3-Speeds have one tragic flaw: steel rims on the wheels. This means that in wet weather, the caliper brakes do not have great stopping power. Getting new, super-grippy brake pads will help with this, somewhat. The salmon Kool-Stop pads are generally considered to be the nicest and grippiest.
 Lowered Gearing
: Some find the standard gearing on Raleigh 3-speeds too high, making it difficult to go up hills. This is easily remedied. Simply ask you local shop to "lower the gearing" by replacing the rear cog with a larger one. For the hills in the Boston area, I recommend a 22-tooth cog.
Lucy 3-Speed is now a great climber.
I also had the chain replaced, brakes and hub adjusted, and a general tune up. All this was done by the excellent
Harris Cyclery in West Newton, Mass.

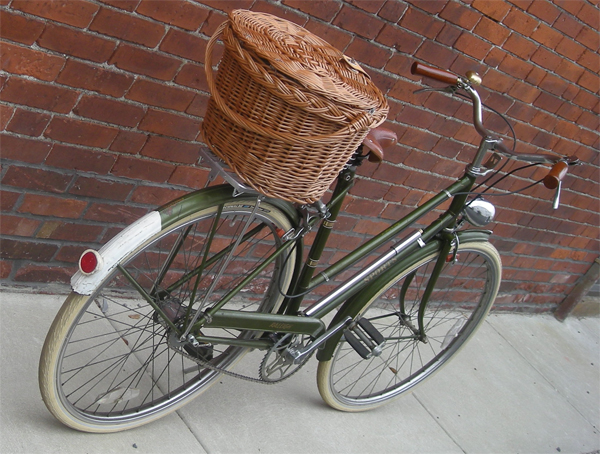
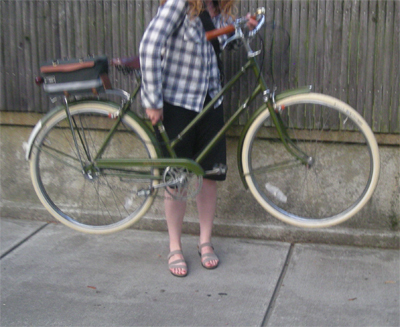
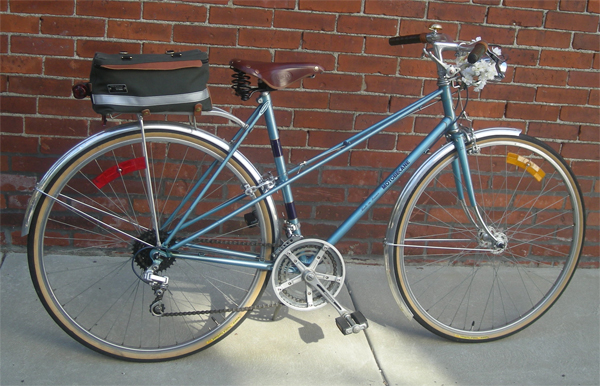
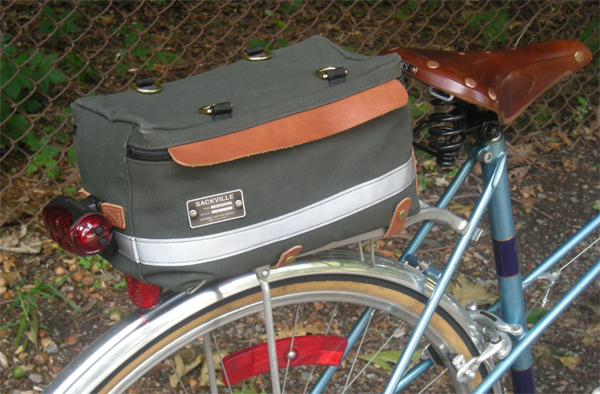
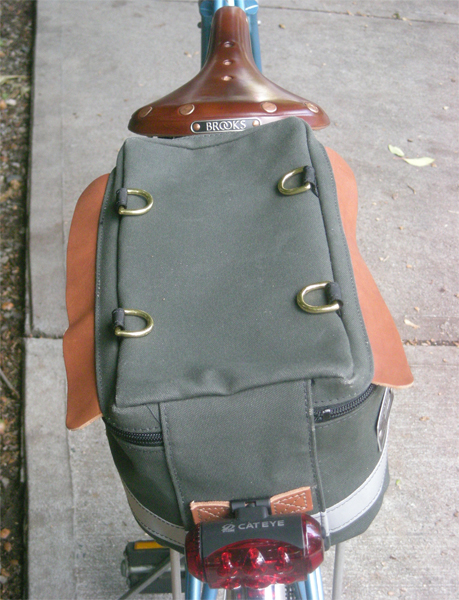
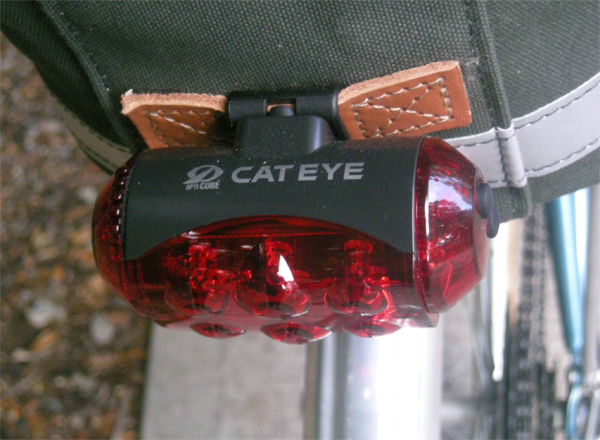
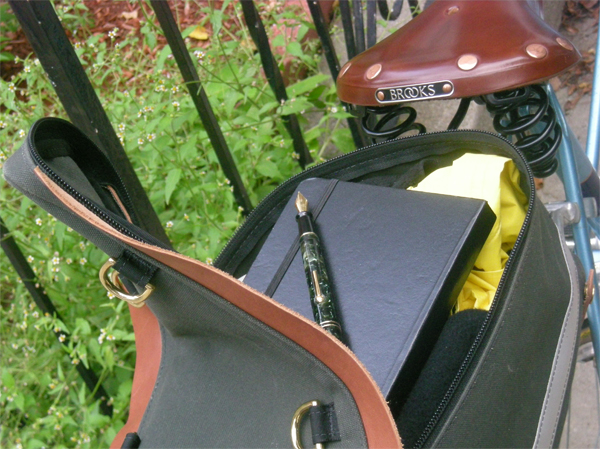
Other functional/aesthetic upgrades included replacing the old saddle with a sprung Brooks B67S in "honey", replacing the original handlebar grips with shellacked cork grips, installing a Low Rider Bullet Headlight by SunLite, adding a chrome pump from
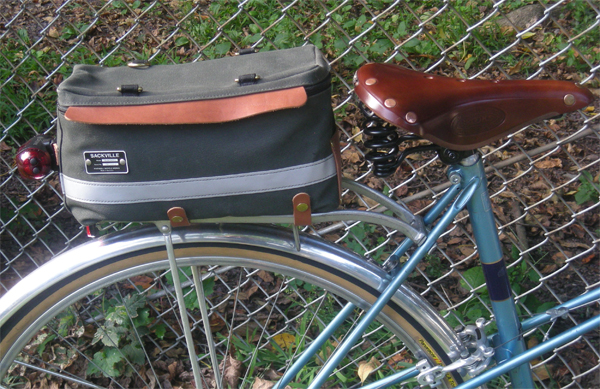
Old Roads, and adding a Pletscher rear rack. The bag on the rear rack is the
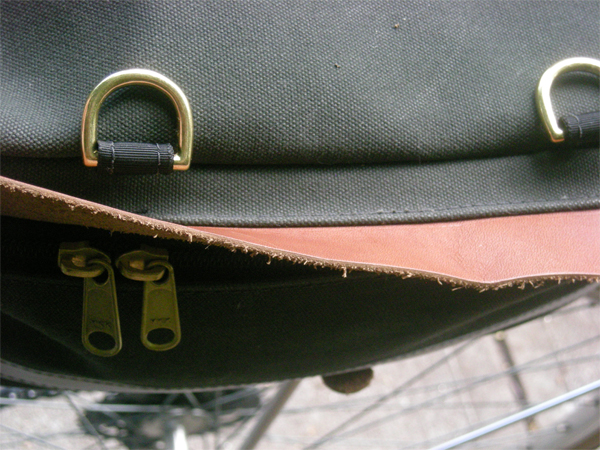
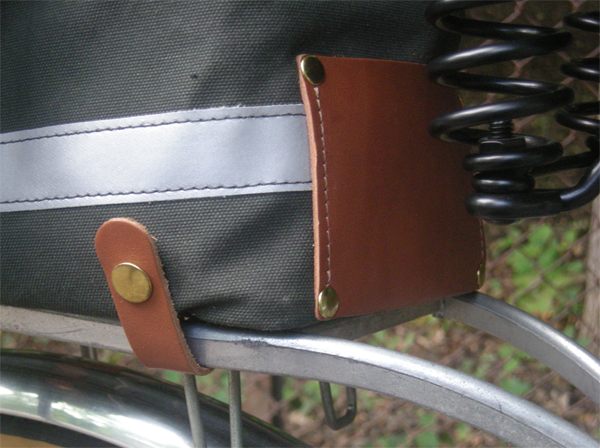
Sackville Trunksack.

As you can probably tell if you have been reading this website, I am detail-oriented and tend to get carried away with aesthetics! Still, none of the updates I've made to this bicycle were expensive, except for the new saddle, which I could have done without. I hope this review shows that it is possible to make an elegant and comfortable bicycle out of a vintage 3-Speed. You might be surprised how many old, neglected 3-speeds are lying around in people's garages and basements, weeping and waiting to become somebody's beloved commuter!

 Today I said Good-Bye to one of my bicycles, Lucy 3-Speed. I loved having her, but I simply could not keep so many bicycles in my apartment - or sustain the financial expenditure of restoring them. Given that I now have the DL-1 - my dream vintage Raleigh - the Lady's Sports was redundant and I had to set her free. But it makes me happy that she has found a new loving home!
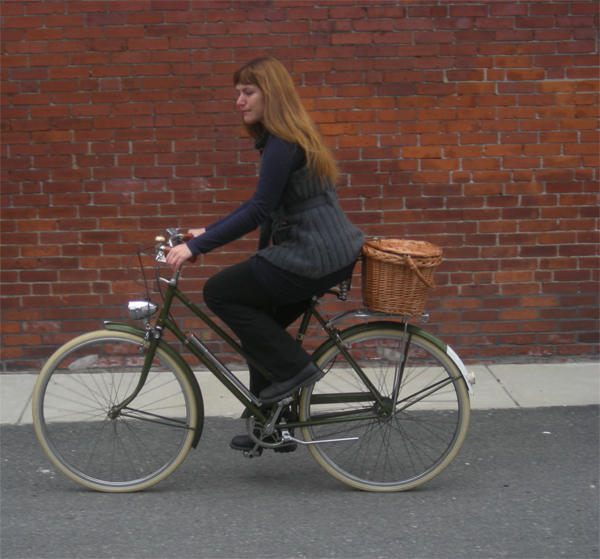 I rode Lucy to Open Bicycle, where I met up with the lovely lady who will be her new guardian. I need to check whether it is all right to post a photo of her and Lucy here; they look great together. Amazingly, the new owner lives in the same city and state as my parents - so Lucy is in fact going back to her home town!
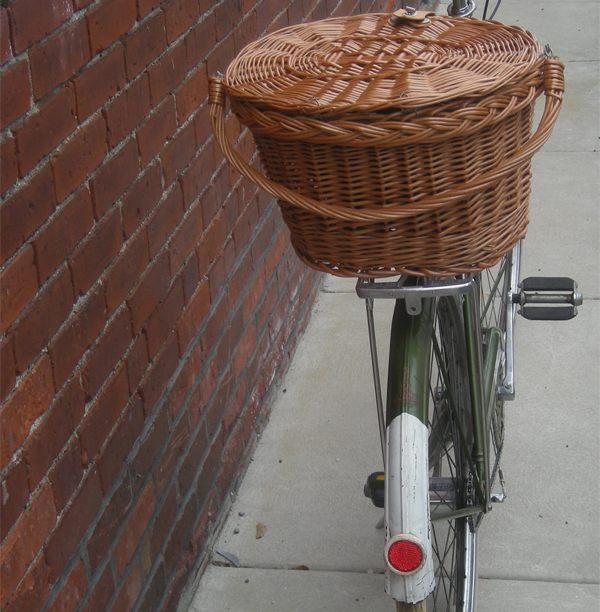 I attached this Basil wicker basket to the rear rack and transported it to the shop as well. It is a handlebar basket that I bought new but decided not to install on my Pashley. Hopefully it will also find a new owner who will love it. This was a big "De-clutter the Art Studio from Bicycle-Related Items" day. But what is in the basket, you ask?
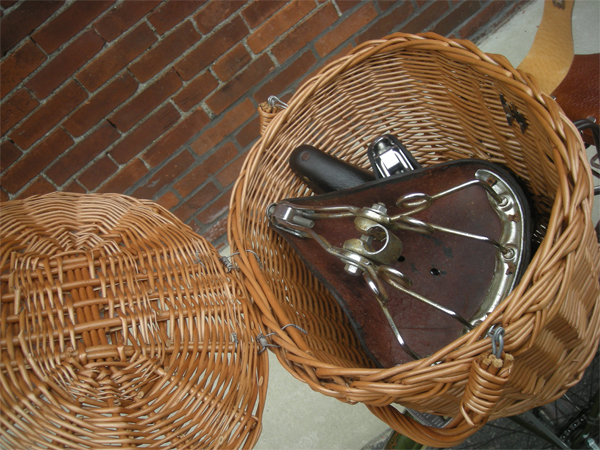 Oh just a few vintage Brooks B72 saddles! I have accumulated these over the past year and they had to go as well - don't need 3 extra saddles! They do look beautiful piled up in the wicker basket.
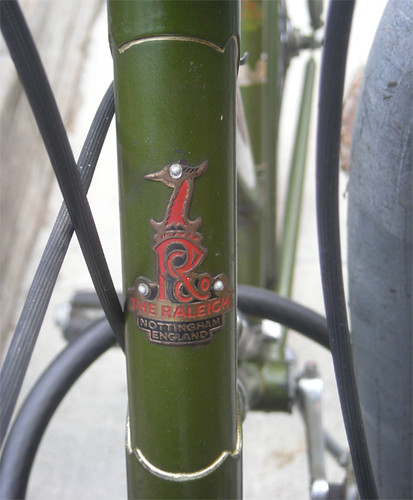


